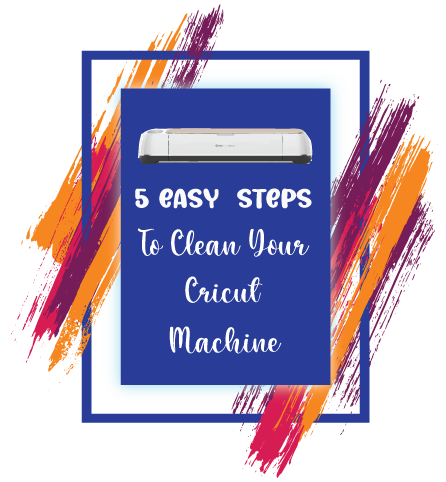
5 Easy Maintenance Tasks You Need to Perform On Your Cricut!
Look, these Cricut maintenance tasks are not difficult nor time-consuming, but they are vital to keeping your machine in tip-top shape. Cause, you want it to perform as well as it possibly can every time you use it. Right?
Before we get into the steps, make sure you pin this to your Pinterest so you can reference it. You can do that by clicking here or the red PinIt button.
So, here is what you need to do:
#1 – Clean your machine.
This is such a VITAL step. One that I take seriously. I clean my machine to some degree every day. This is so important that we have actually put together an in-depth blog post and video for you so you can follow along and learn all the steps you should take to keep your machine clean.
If you’ve had your machine for 6 months or less, you probably don’t need to panic yet, but start following the steps. Now, if you’ve had it longer than that, you need to get on the ball! You need to be sure that everything is clean and that there is no debris in your machine that may be interfering in getting perfect cuts and results.
I deep clean my machine at the least, once a week, but I also clean it if I use it on a large project.
#2 – Update your software/firmware.
I can’t tell you the times I see people complaining about the performance of Cricut Design Space. Yes, sometimes there are issues stemming from Design Space itself, but all too often it’s because they haven’t updated their software.
If Cricut has done updates on their end and you haven’t installed those updates on your end, you could encounter issues. If you close Design Space when you are finished using it, when open the program, it will alert you that there is a new update to be installed. This makes it easy to stay current all the time!
I know sometimes, we get busy crafting, and we just leave Design Space open, but when we do, we can miss those updates. Just stay aware and periodically take a look you might just need to update. Just go to their home page on Cricut Design Space.
In the top left corner, you’ll see three lines (next to where it says Home). Click those to open the dropdown menu. On that menu, simply click Update Firmware and follow their instructions from there. It will check to see if you have the latest update and if not, it will prompt you through the process.
#3 – Calibrate your machine.
I know the word calibrate may sound intimidating to some, but it really isn’t that difficult of a task. There are 3 things you need to calibrate on your machine. They are: Print then Cut, knife blade, and rotary blade. With a Cricut Explore, you can only calibrate for Print then Cut.
By calibrating, you are helping to ensure that your machine cuts flawlessly every time. If you are making a Print then Cut project, using the knife blade or rotary blade, you need to calibrate before even getting started.
If you haven’t done this and you find that your cuts aren’t precise, this is likely the issue. So, head to Cricut Design Space, and on the home page, click on those 3 lines in the top left corner (just as we did for updating the firmware) to open that dropdown menu again.
Choose Calibrate. If you’re using a Cricut Maker, it will then provide you with the 3 different options to choose from: Print then Cut, Knife Blade, and Rotary Blade. Follow the steps on your screen.
We have a video tutorial on how to calibrate your machine here.
#4 – Delete old projects.
When you are a very busy crafter and you have created tons of Cricut craft projects, you might start finding that your Design Space project library feels a little cluttered. If this is the case for you, you can choose to delete your old projects.
Go to Cricut Design Space and from the home page, you can see My Projects. Click on View All. Choose the project you would like to delete and click on the 3 dots. From there you can choose to Edit the Project Details, Save for Offline, or Delete the Project. It will then ask you to confirm that you want to delete it. Click Yes and it’s gone!
There are also ways that you can organize your projects in Design Space to help keep things in order. Learn to Organize and I’ll walk you through how to do that.
#5 – Clean your mat.
Always be sure to clean your Cricut mats! You can get so much more use out of them and have much better results with your craft projects by using clean mats.
Our favorite way to clean mats is by using baby wipes, but we have an amazing tutorial on 3 different ways to clean your cutting mats that you are going to want to check out.
You have invested good money into your Cricut machine. Make sure you maintain it and get the most out of it for years to come!